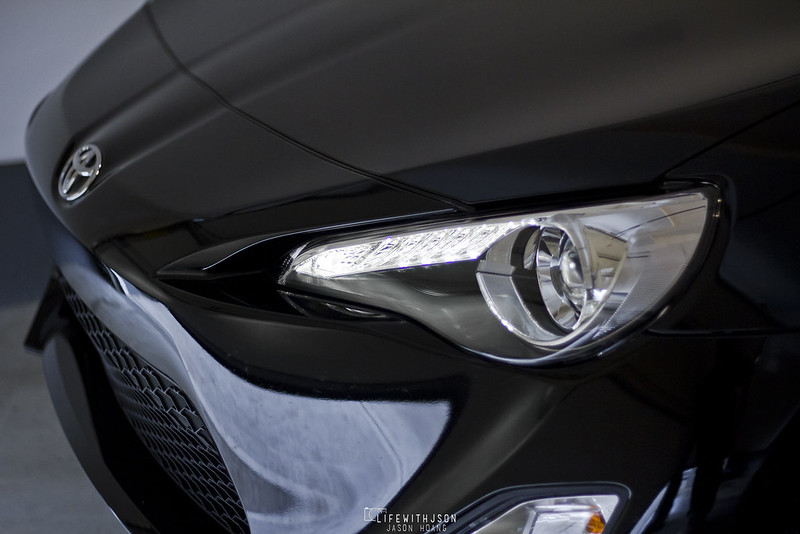
Today ended up being a perfect day for an install – the weather was awesome, everything went smoothly, and I’m glad to say the FR-S is now fitted with some fresh new eyes.
I’ll be honest, I’m not technically inclined enough to tackle any electrical work myself, and the whole blue wire, white wire, rainbow wire thing confuses the hell out of me. That’s the reason I asked Derrick to help me out! LOL! This kind of stuff comes naturally to him so I left it all to him. Because of that, I’m not going to make this write up like a DIY – I’ll include details, but most of the wiring and stuff was all Derrick. So thank you, Derrick for helping me out!
Derrick came by around noon so we got started pretty quickly…
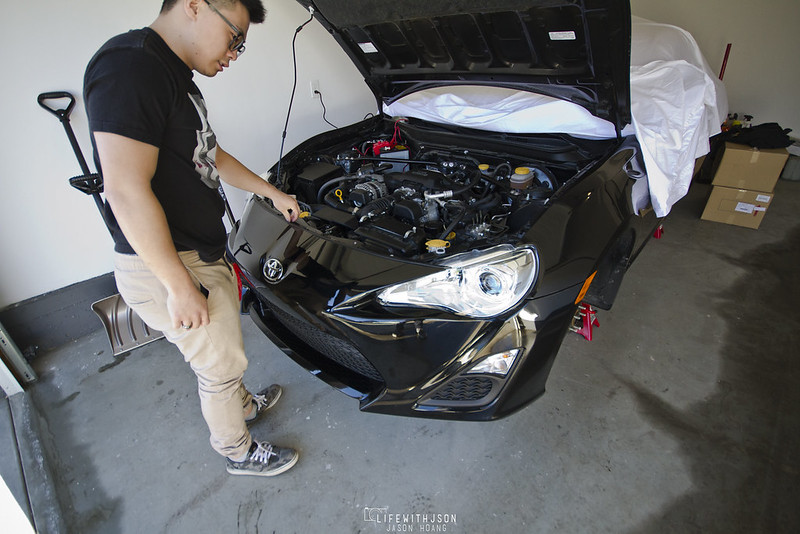
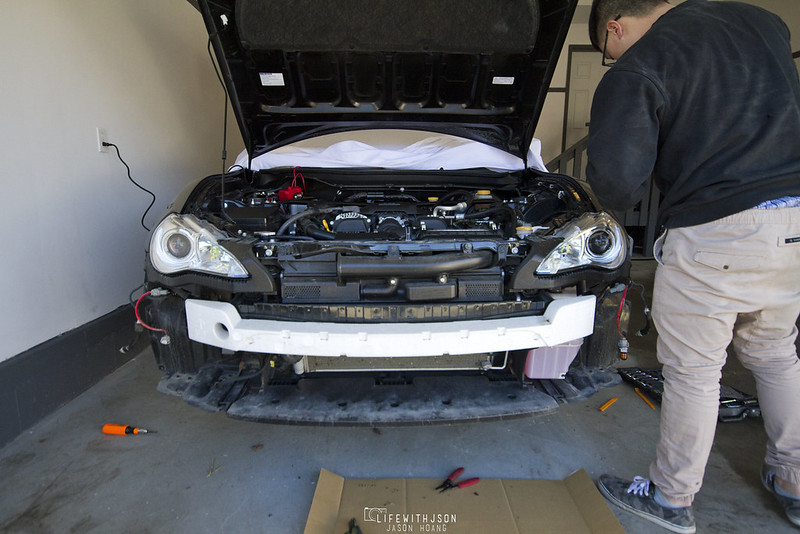
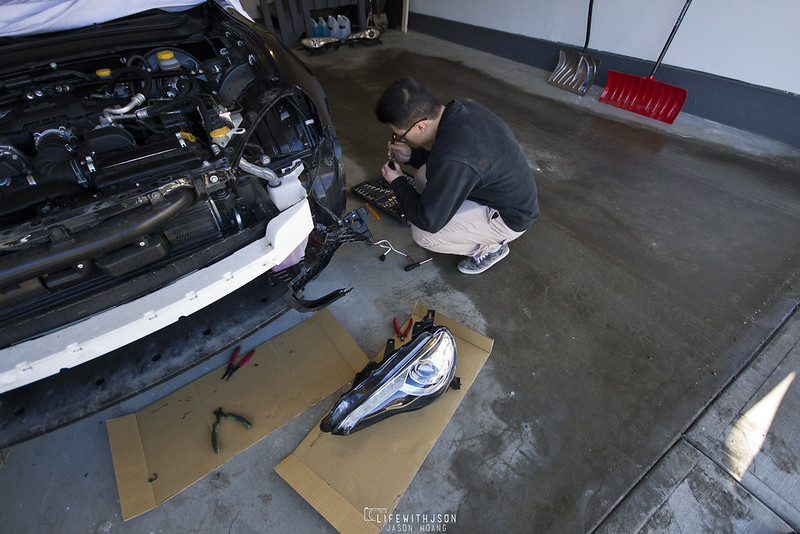
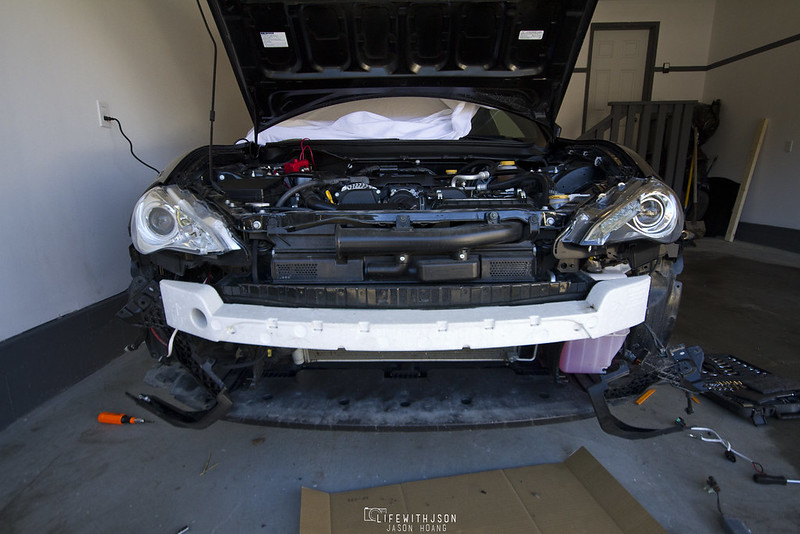
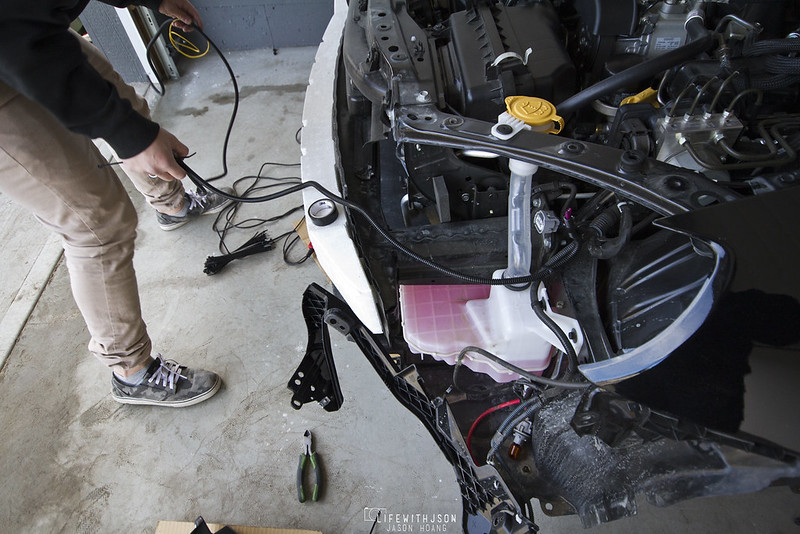
Preparing to take the bumper off
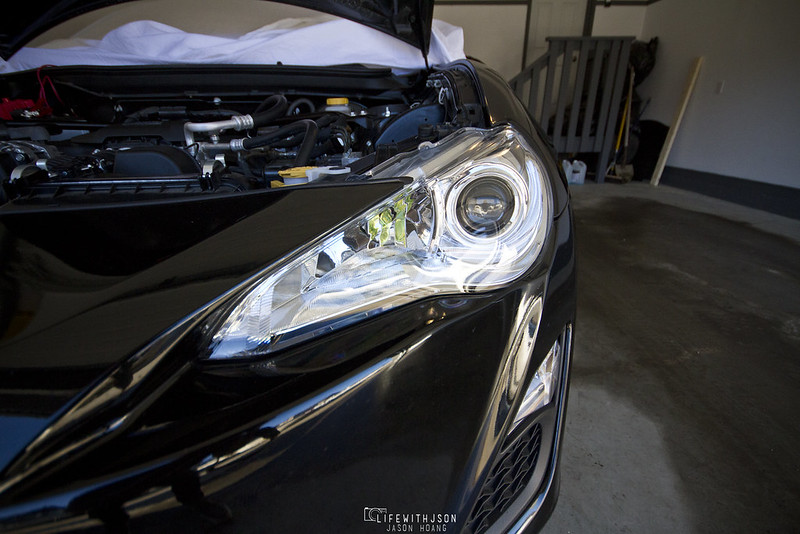
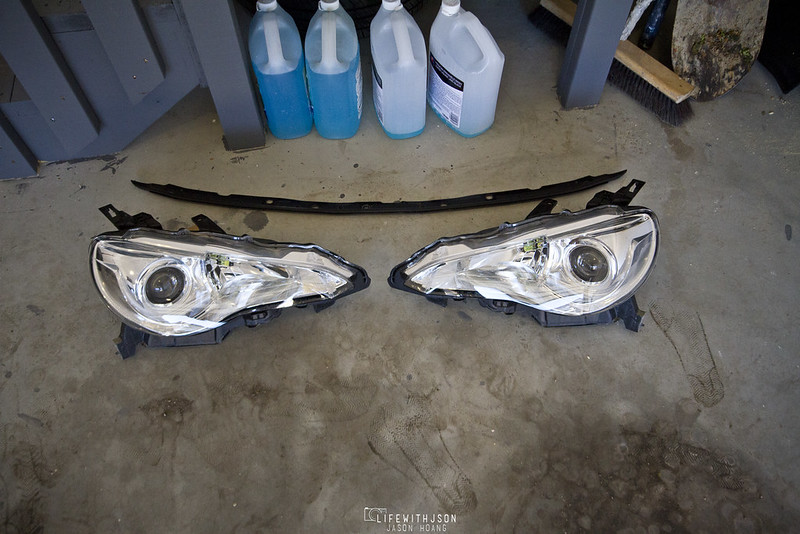
A shot of the stock headlights before they go away forever.
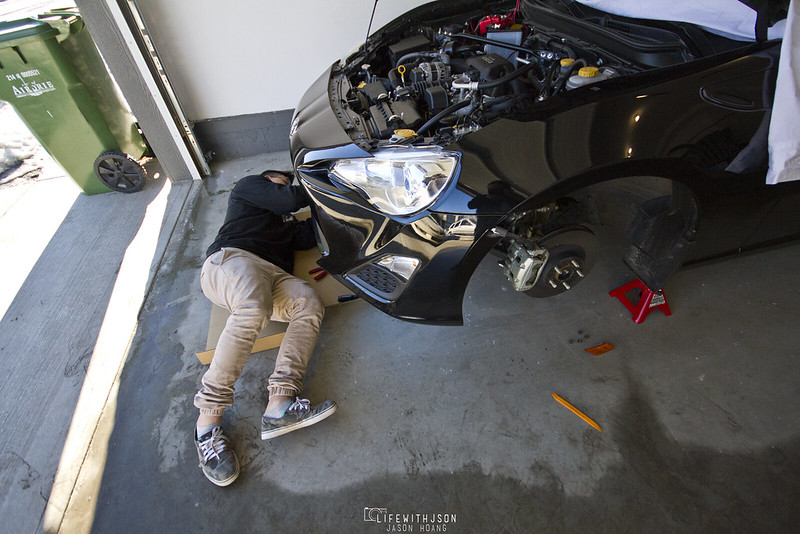
Derrick taking off the clips underneath
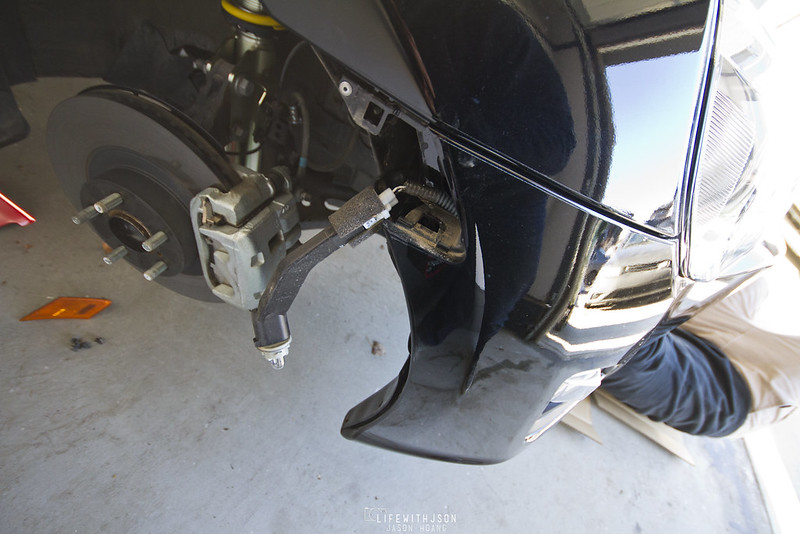
In the meantime, I took off the side markers. A bunch of people said it was difficult, but if you pry it off on the right corner, it pops off easy.
Other side off.
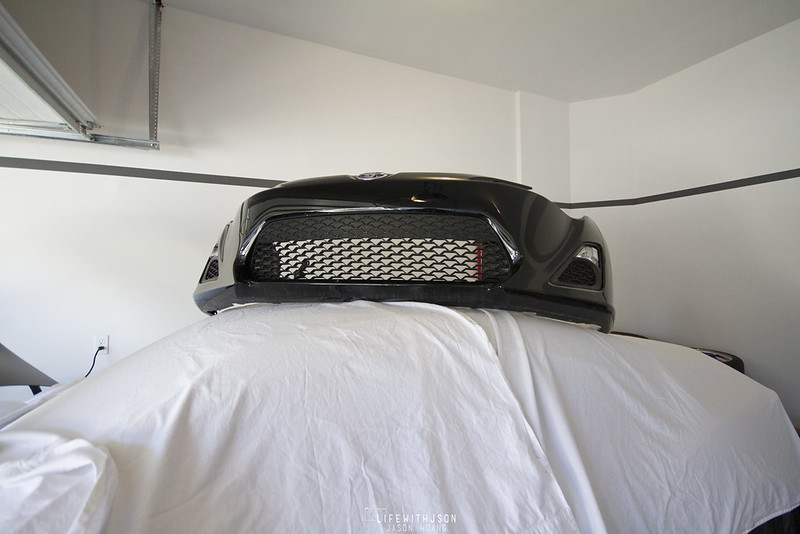
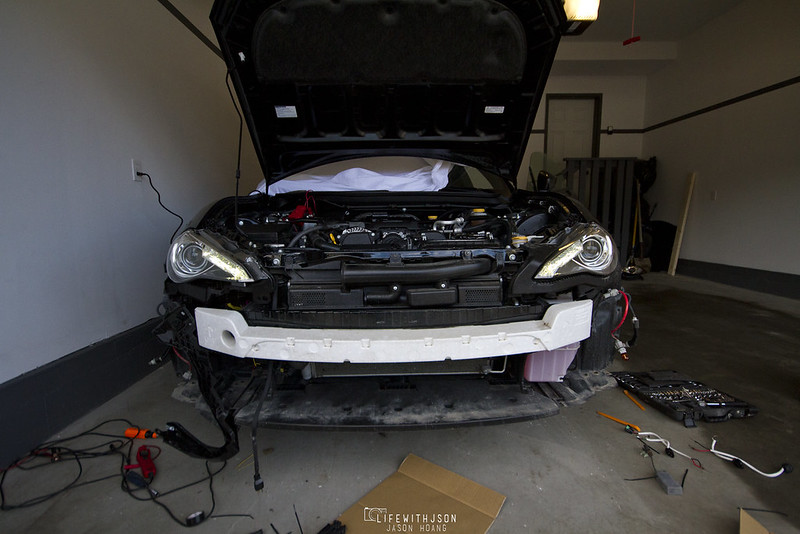
Bumper off. We’ll just rest it on top of the car…
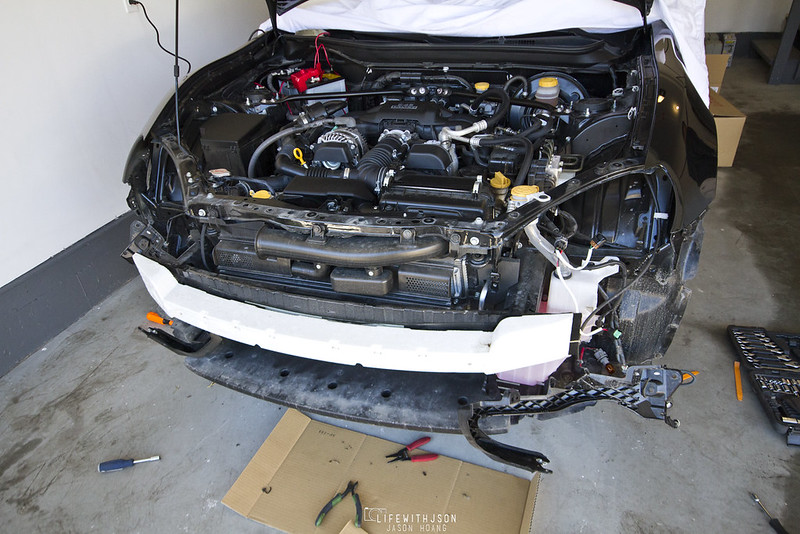
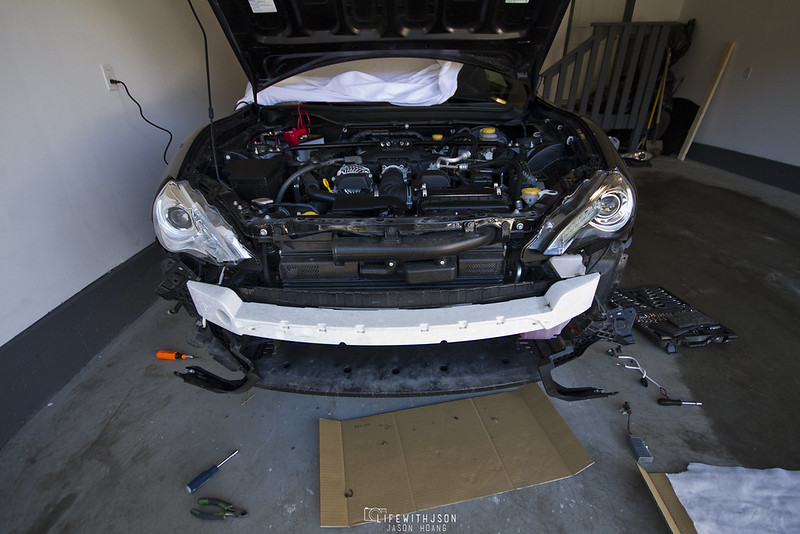
Bumper off! Ready to go.
The headlights came off super easy. Just 4 bolts in total and they pop right off.
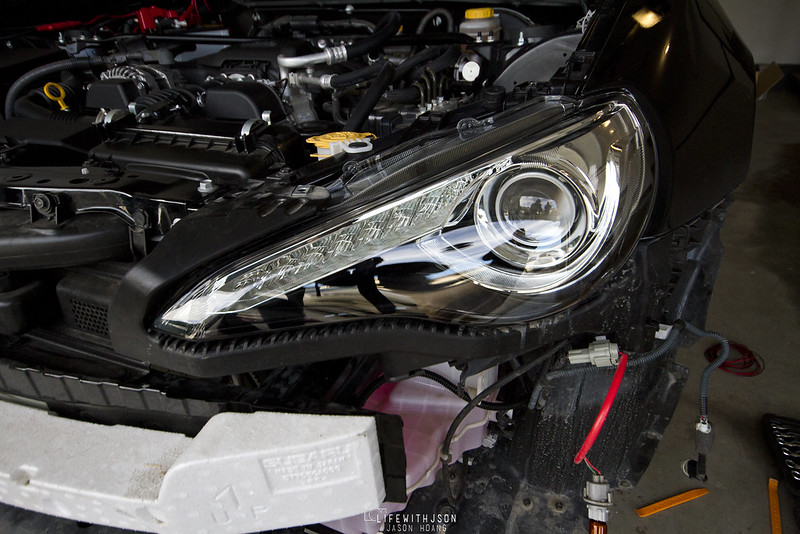
Eye-less.
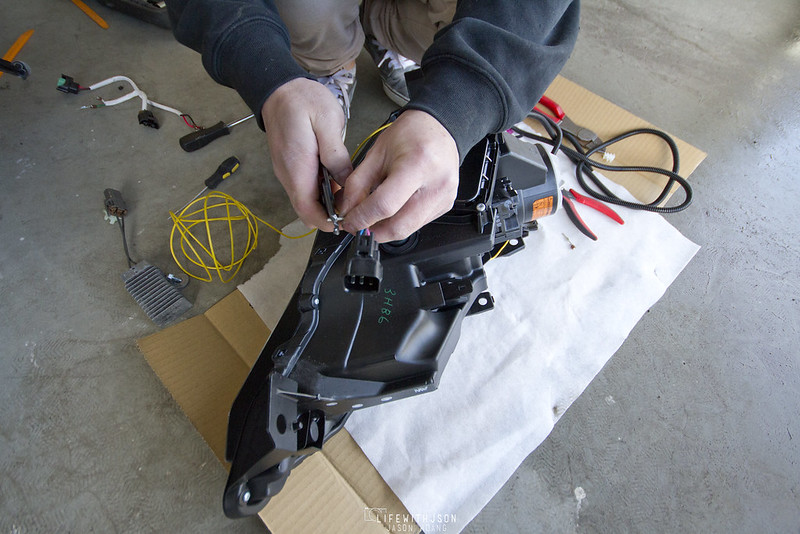
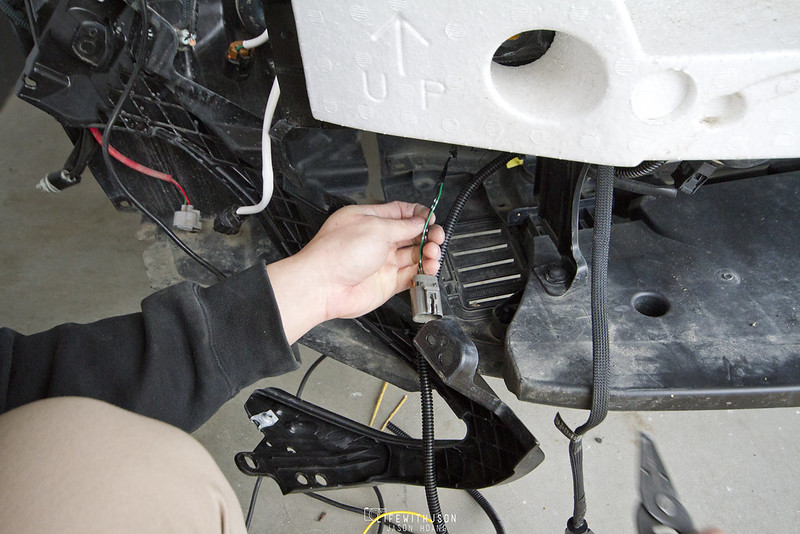
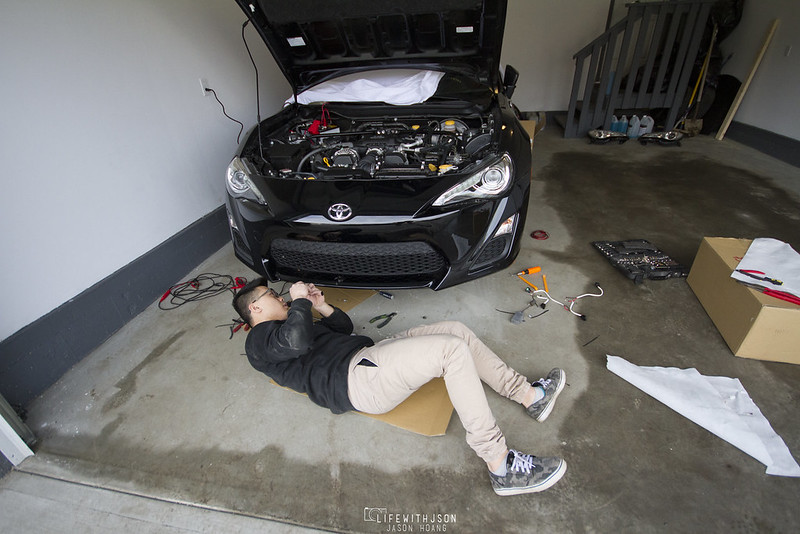
Derrick working his magic on the stock harnesses.
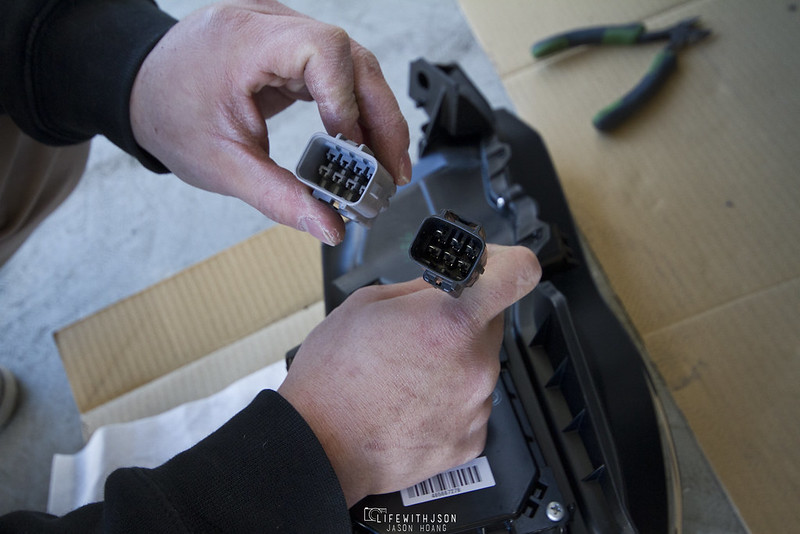
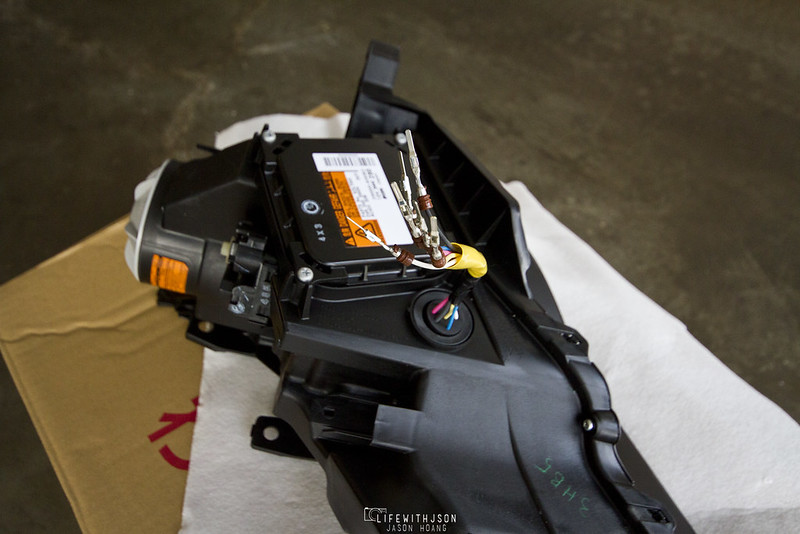
A comparison of the stock harness and the new headlight harness.
Before I knew it, Derrick re-pinned the harnesses, plugged them in and they were lit up!
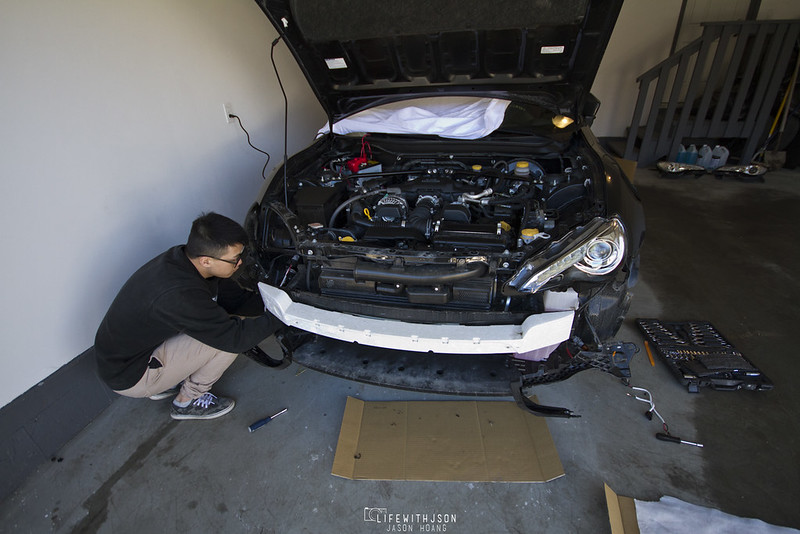
One in!
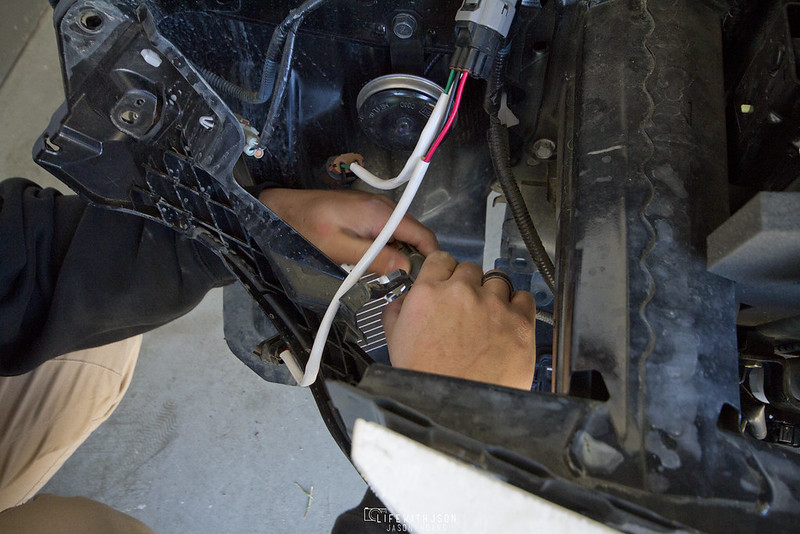
Derrick removing the stock resistor piece
Unplugged and off. The reason for removing this is so that you don’t fry the new LED’s on the headlights. Because the new headlights are powered through one plug rather than two like the stock headlights, these aren’t needed anymore.
A comparison shot of the stock headlight on the left and the GT86 headlight on the right.
A shot of Derrick removing one of the wires to tap into the LED’s
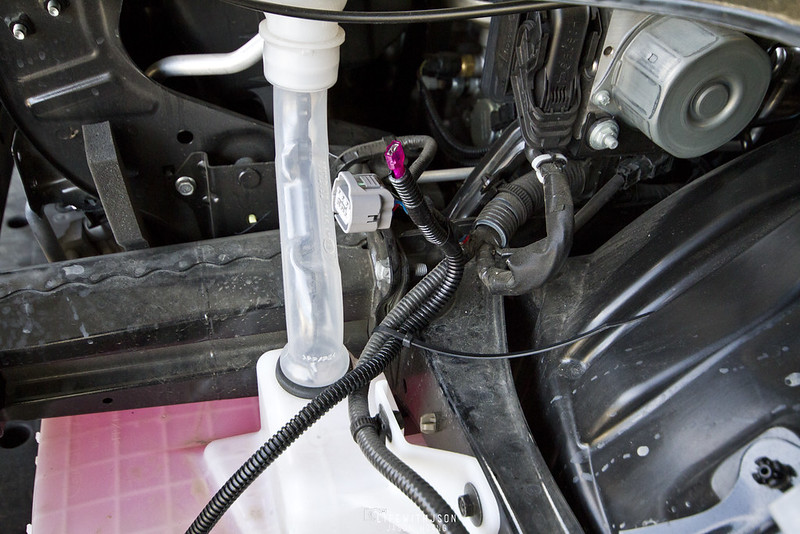
Here’s a shot of the two. The main plug is for the low beams, the pink piece is a wire that has been removed from the main harness so that we could tap into the resistor wires to power the LED DRL’s.
Derrick is running the DRL wire over to the resistor wires on the passenger side.
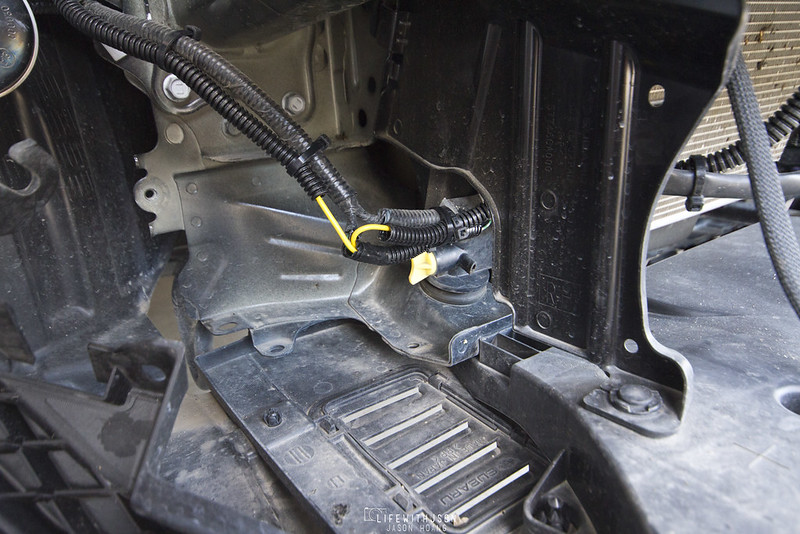
Here you can see where the resistor was plugged in.
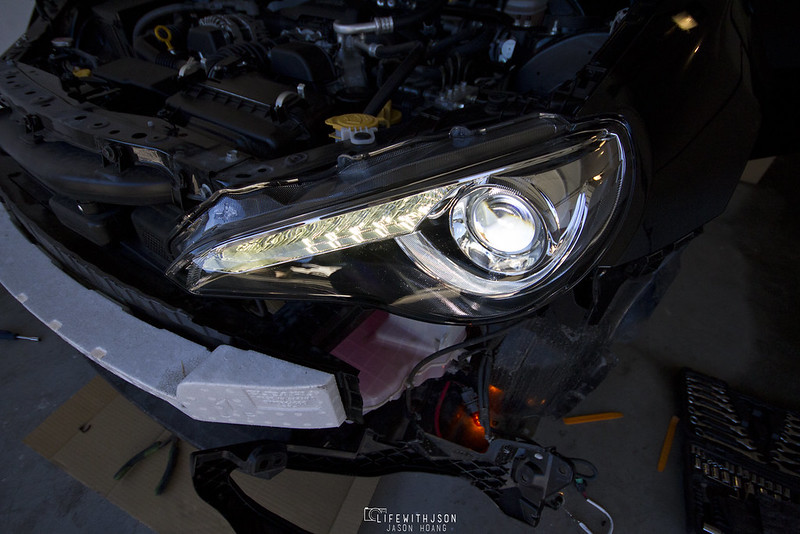
Testing that the DRL works before putting it all on
A shot of the other headlight and Derrick getting ready to re-pin.
So shiny!
A shot of the DRL wires hooked up to the resistor wires.
Both in. The DRL’s are on… Tough to see since it was pretty bright outside.
Derrick putting the clips under the bumper back on
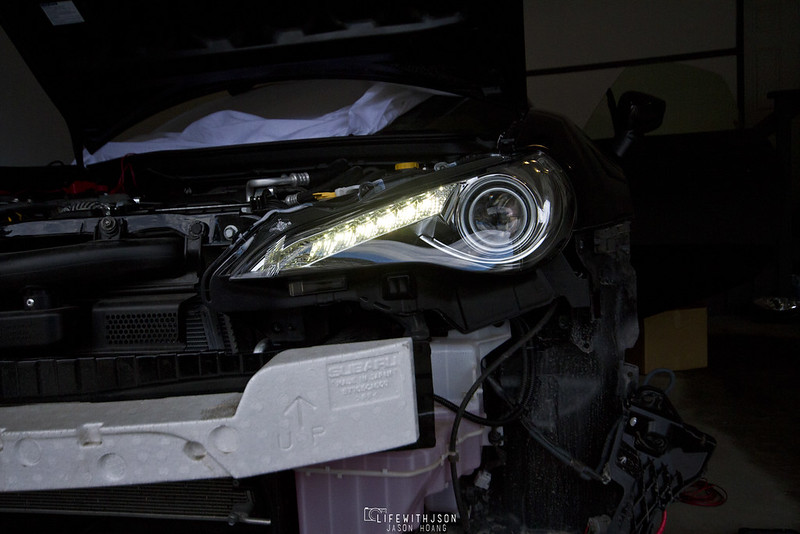
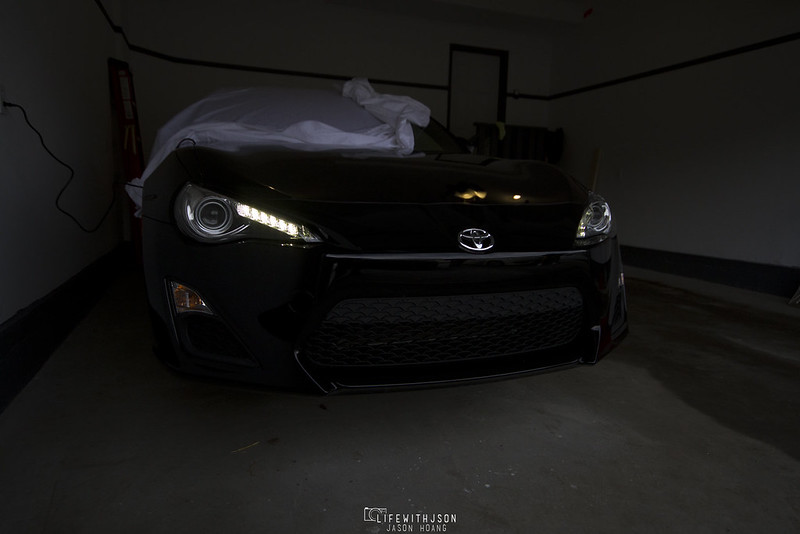
An underexposed shot to show the LED’s
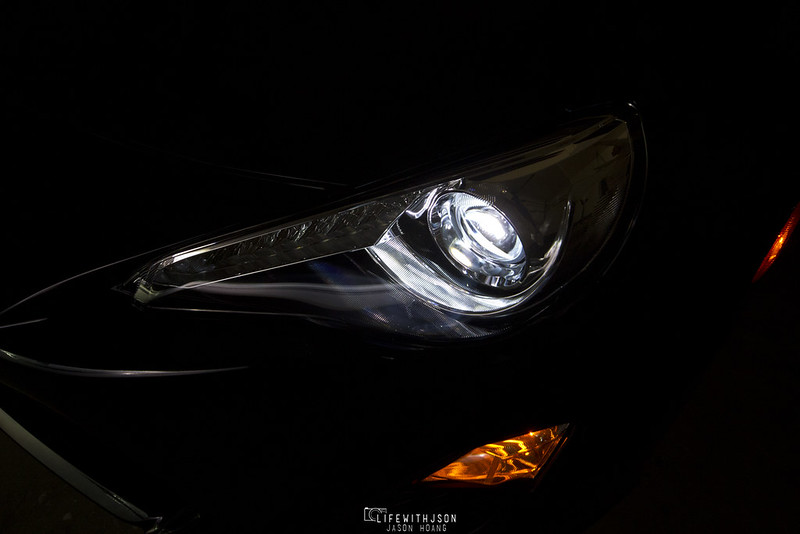
The HID’s! A nice upgrade for sure
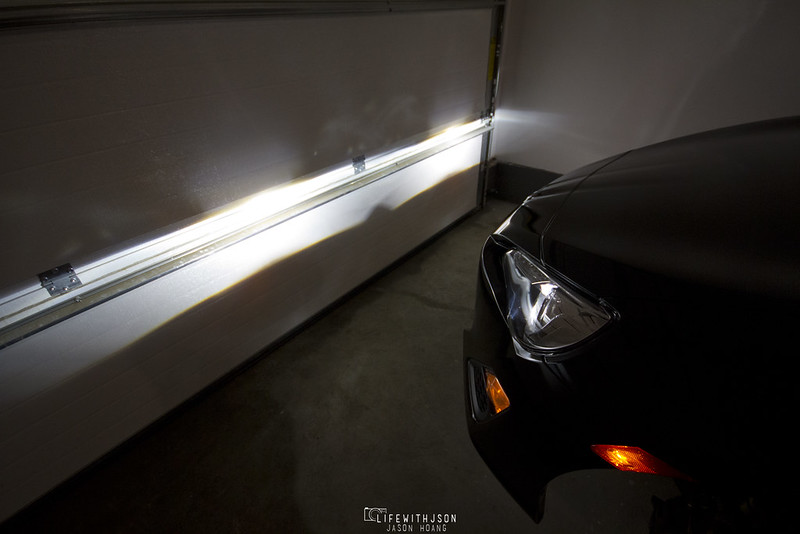
A view of the cut off. I’ll be upgrading the bulbs soon so these won’t be in for too much longer
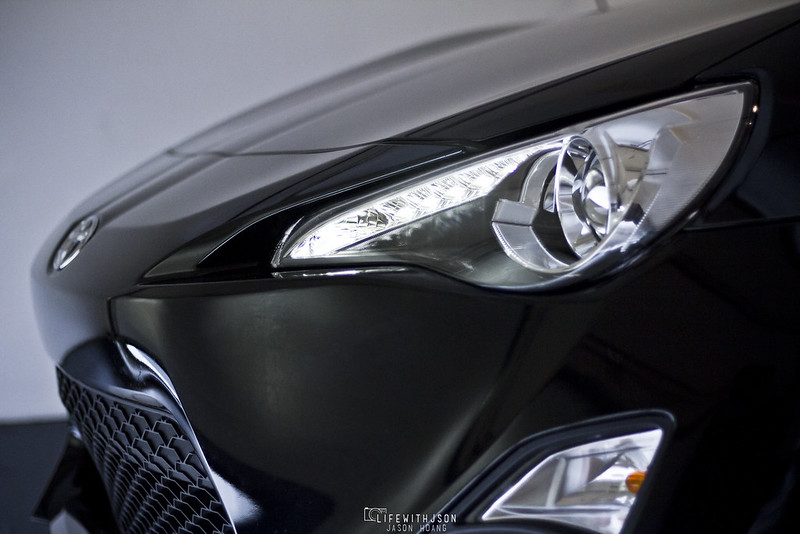
A shot of the LED’s
Another with the LED’s on.
Last one!
I’ll try to get a few more shots at night of the LED’s and HID’s on. Thanks again to Derrick for helping out with this! I wouldn’t have been able to do it without ya!
