Well, another project on this cold and snowy weekend to try and pass the time and make some small, slow progress on the FRS.
I know I’m not the only one when I say that I hate some of the interior pieces of the FRS. I mean, I can’t really complain given that the FRS is no luxury car, but there’s always something you can do to make it better. A lot of people have wrapped with carbon fiber vinyl, others have plasti-dipped it, but I’m not a fan of the look of either. I wanted to make the interior look a little more “classier” rather than just cover plastic with wrap that still looks plastic.
Anyway, Diana and I made the trip to Fabricland on Saturday, got 1.5 meters of black Alcantara and basically attempted something we’ve never done before again. We’re in a big DIY roll lately and so far, we’re 2 for 2 lol. I’ll try to add as much detail as I can, it was tough to grab the camera every few steps. If you have any questions, feel free to comment or email me.
I’ll share some of my tips that we encountered while we did this so you can learn from our mistakes and hopefully you won’t have to come across them. First of all, you’ll need to ensure your work area is clean – all the time. This is crucial because you are working with tack spray and if you’re area is dirty, there’s a good chance you’ll get unwanted dirt or fuzz where you don’t want it. Second, use gloves and change them often. While you’re working with the tack spray and getting the fabric to stick to the pieces, adhesive WILL get on your fingers and you do not want this spreading onto the fabric (you’ll see later). Change your gloves and change them often. Third, you’ll want a sharp knife and sharp scissors – you need precise cuts and the last thing you want is to struggle cutting the material while you’re working with the tack.
Let’s get a move on!
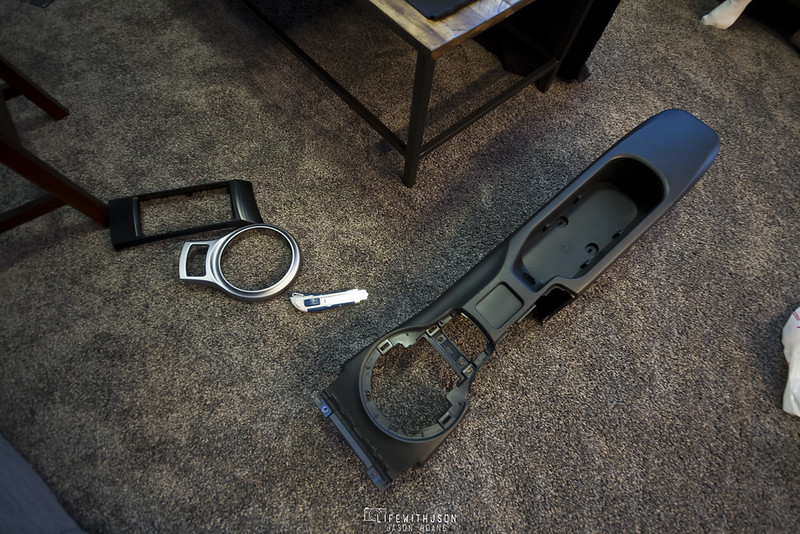
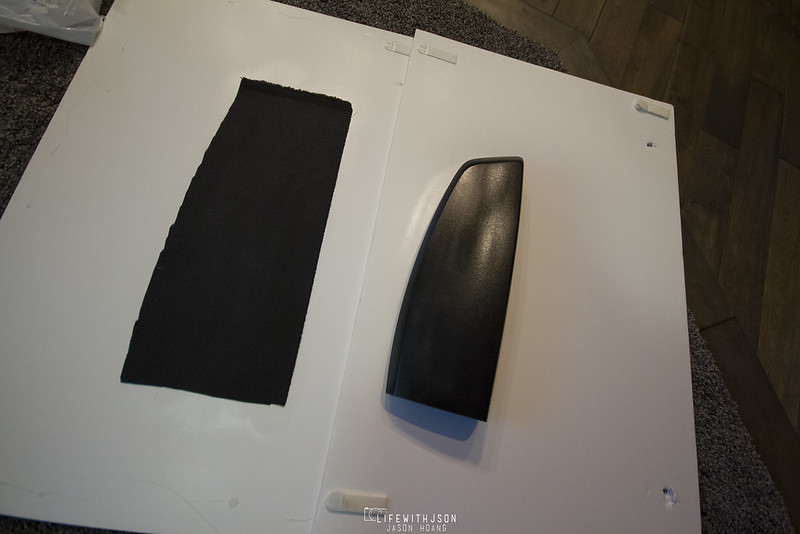
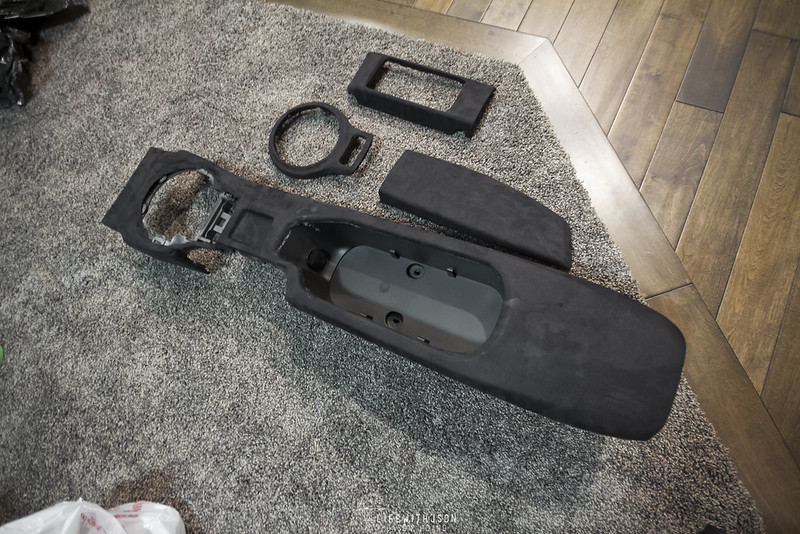
These were the three of the four pieces we wanted to wrap. The center console, the shift boot trim, the radio surround, and the other piece not pictured is the one piece that’s in front of the passenger.
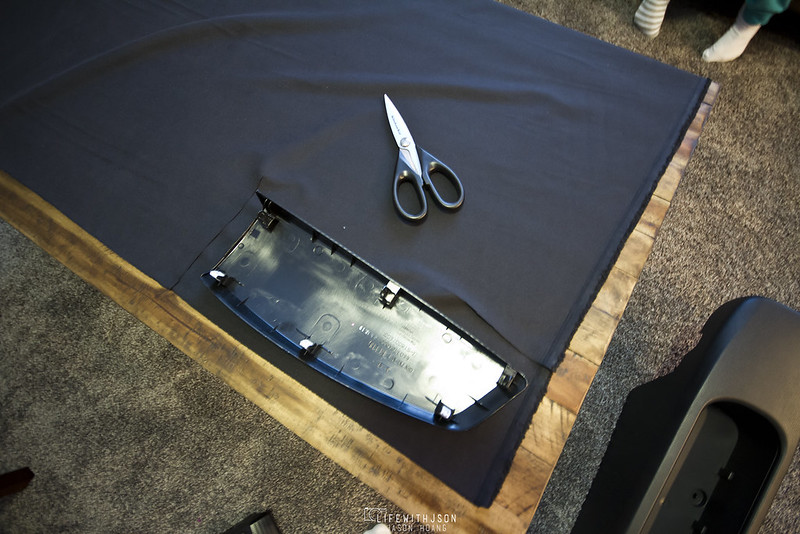
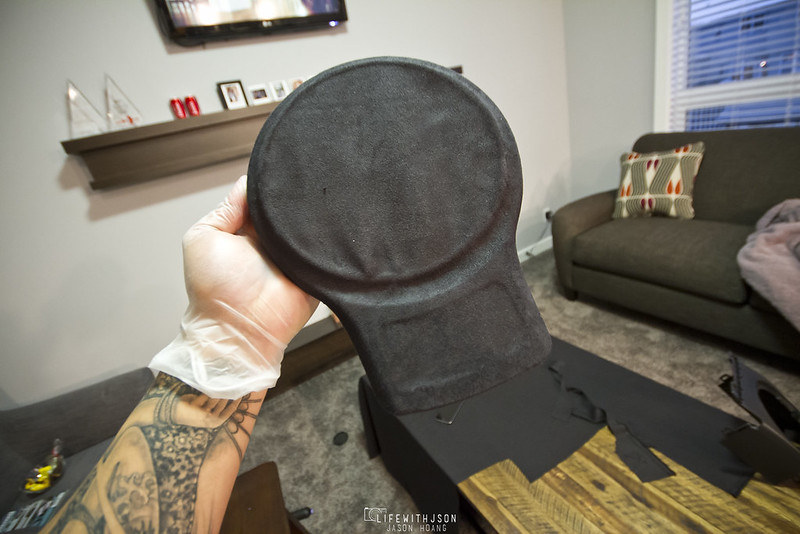
Here’s that other piece – probably the most straight forward piece cause there are minimal corners and it’s just a solid piece. Place it on the fabric and cut out the shape of it – try and leave about an inch of fabric around the piece so that you can wrap it inwards.
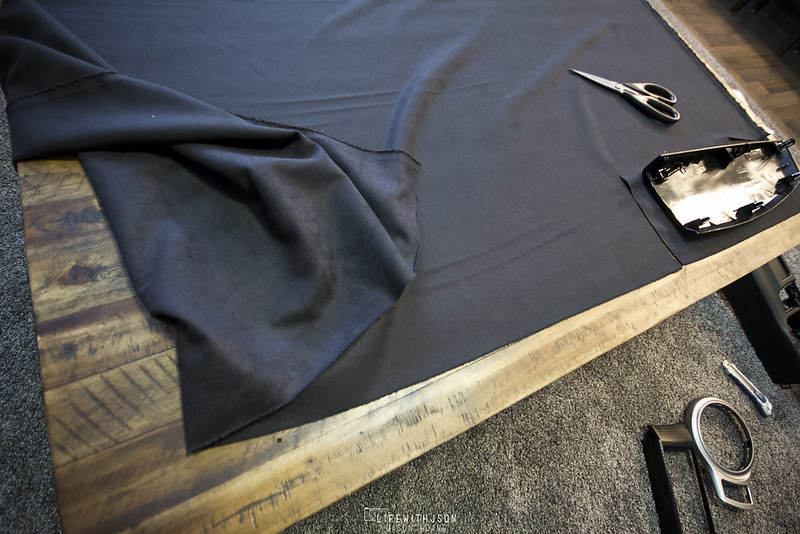
A quick shot of the material.
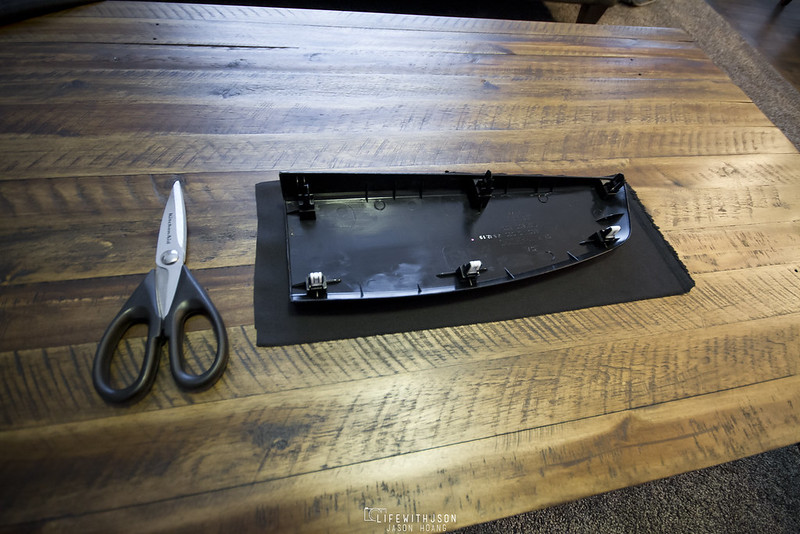
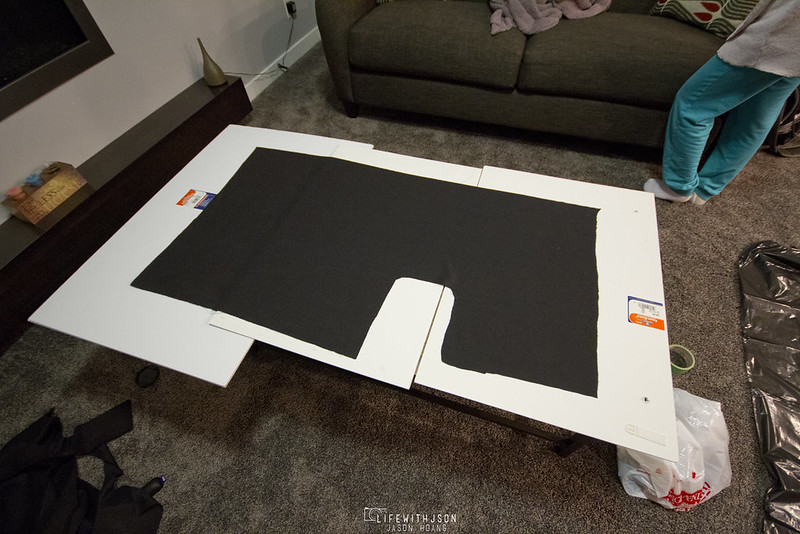
Voila! In this picture, it’s just a rectangular piece but I later found out that it’s a lot easier to cut it in the shape of the piece. It makes it easier to wrap and you’ll spend less time trimming it while wrapping.
Take the tack spray (sorry I didn’t take a picture of it, but you can just pick anything up at Michael’s or a craft store. A permanent spray for fabrics works best) and spray both pieces.
CAUTION/NOTE: A light coat is better than a heavy coat when doing this. Since you’re spraying it on both pieces, you get enough glue on there. If you spray too much, it’ll seep through the fabric and you can pretty much say goodbye to that fabric and try again.
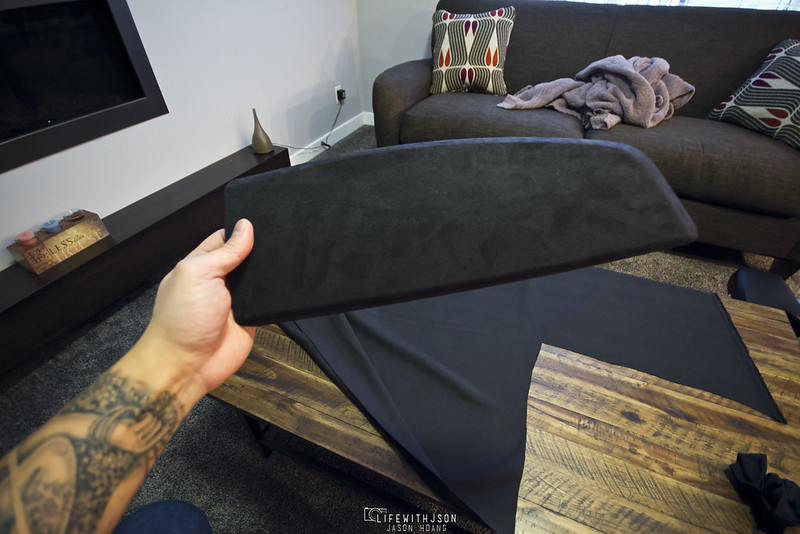
Here’s the first piece done. Pretty straight forward.
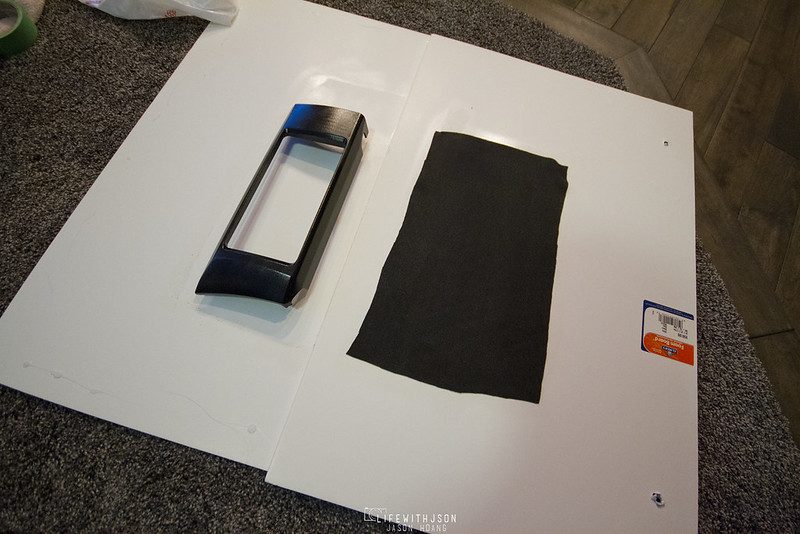
The next piece was a little more tricky because you have to cut the center piece out and wrap inwards.
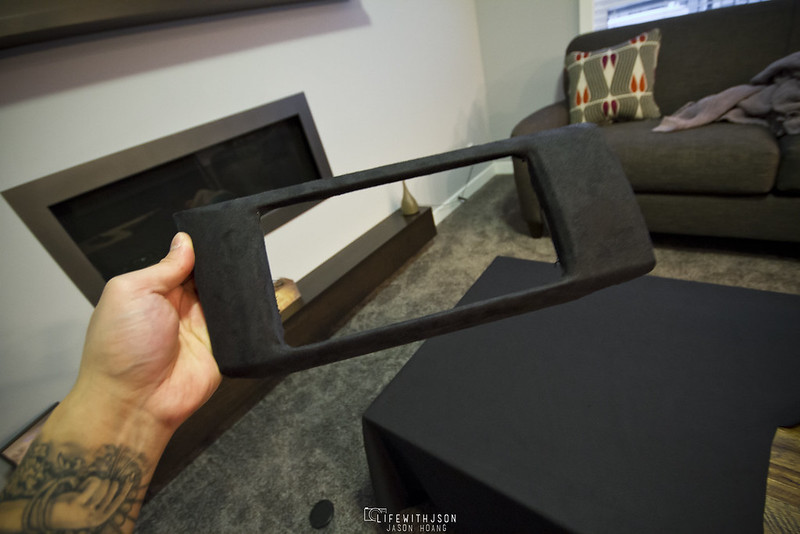
Again, fairly simple. Once you wrap the whole piece, cut the center out, leave about an inch to half an inch and wrap inwards.
The shift boot trim piece was even trickier because the inside was a circle. Leave the harder pieces till the end so you can start to get a feel for how the material works. Here’s a shot of the front all down. The key is to get the tack spray all over so you don’t get any air bubbles or spots popping up.
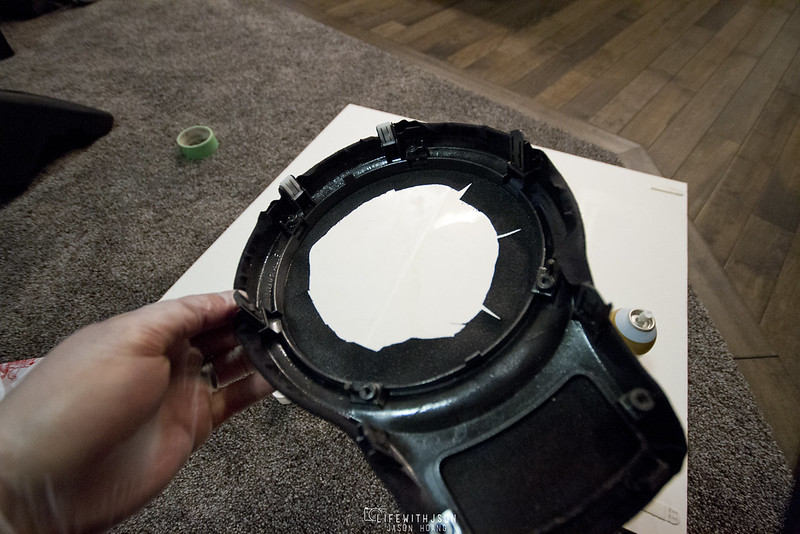
Here’s a shot of what I did and how you can tackle other pieces that need an opening. Cut a circle then cut slits around the circle so that you can fold it nicely and not get any bumps or bends on top. Take your time, you will have to play with it and readjust as you go. The material is fairly forgiving so pulling and pressing works well and it doesn’t distort it.
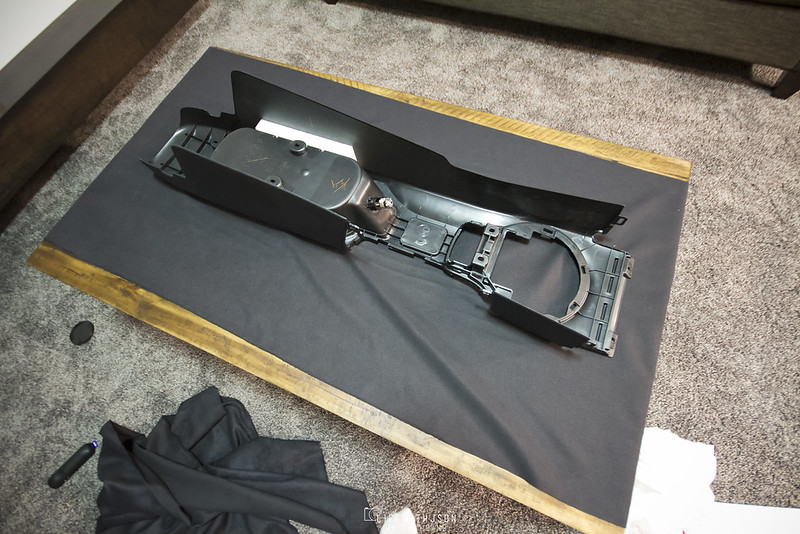
Next up was the full center console – this is the most difficult because it’s one full piece and there are no breaks. You need to be slow and patient.
I cut it out in the shape to make it easier.
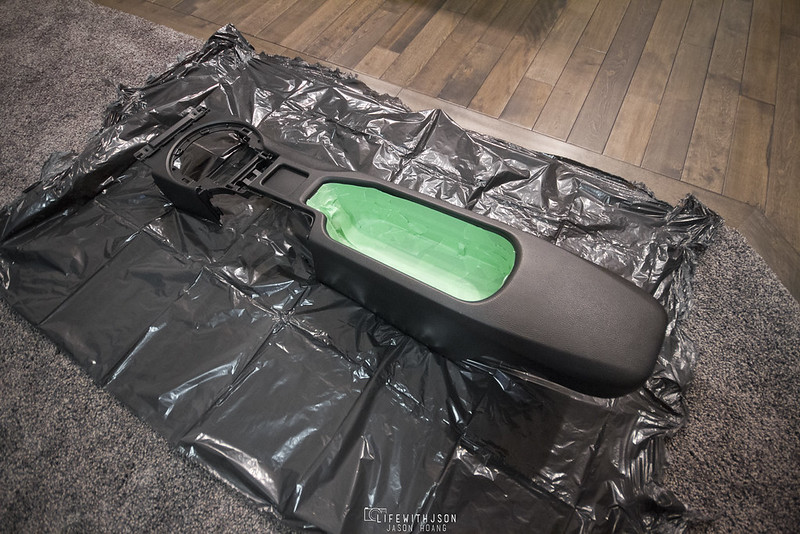
Because it’s a full piece and I wasn’t going to wrap the inside, Diana taped the inside of the cup holder part so that we could spray and not mess that up.
Here it is all wrapped. You can see I used the same method as the radio and shift boot surround for the cup holder area. I cut those flaps and sprayed those down.
I then cut the extra flaps on the inside of the cup holder and got it all lined up nicely. However, notice in this picture on the center console, there’s a bunch of glue to the right of the cup holder opening. That was because I sprayed too much tack on the underside and it seeped through. I tried removing it with water and by steaming it but it didn’t remove it. Too much rubbing will ruin the fabric too. After this, we ended up ripping it off and doing it all over again.
The mistake we made was we sprayed the whole piece and the whole fabric and we were rushed so that’s why it was all messy. The second time around, I only sprayed where I was working so there was less of a chance that the glue would get everywhere. Pain in the ass.

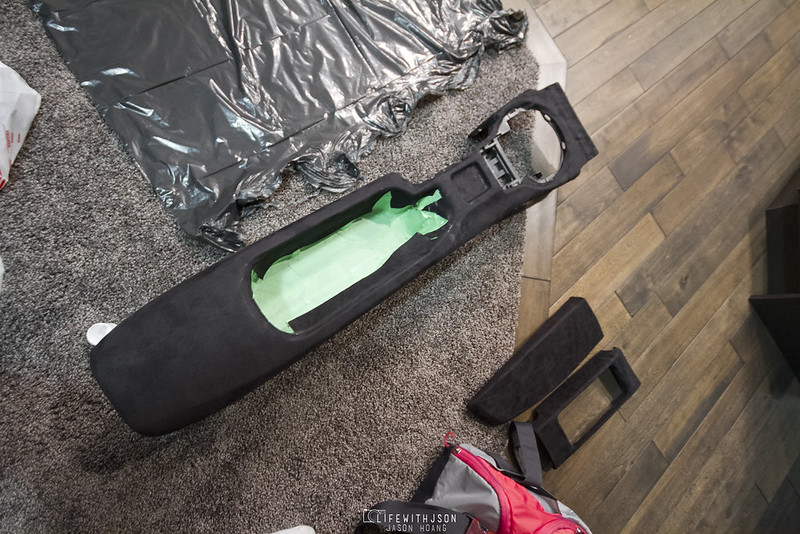
Some finished shots and it all together.
Looks way better.
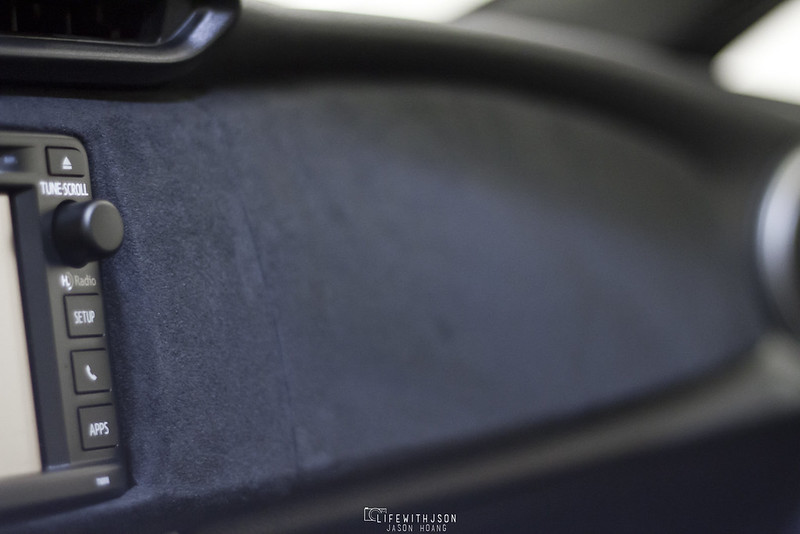
The two pieces of the dash.
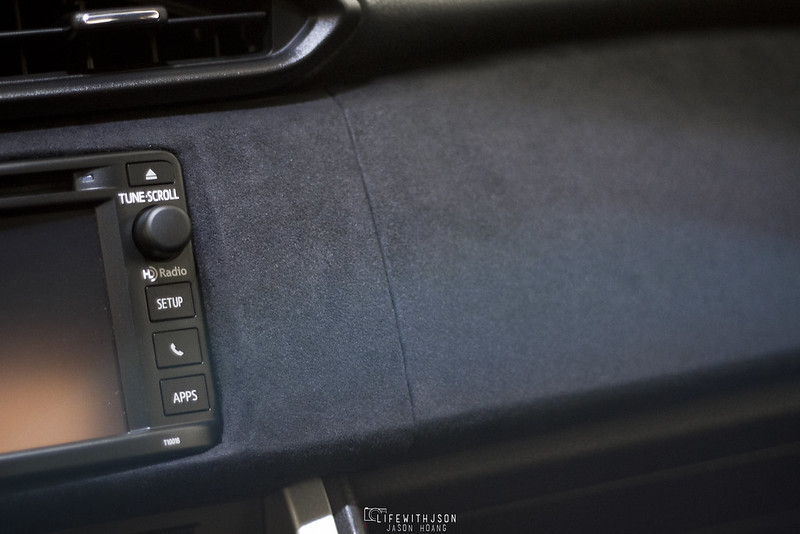
Another shot.
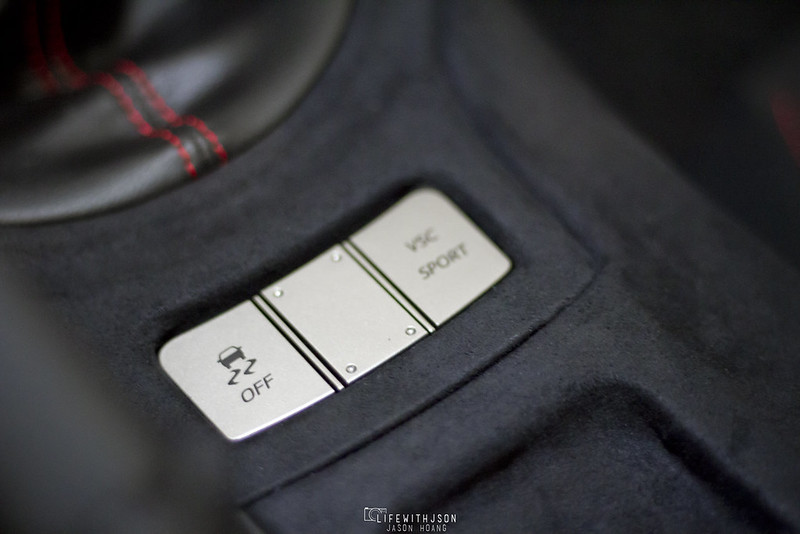
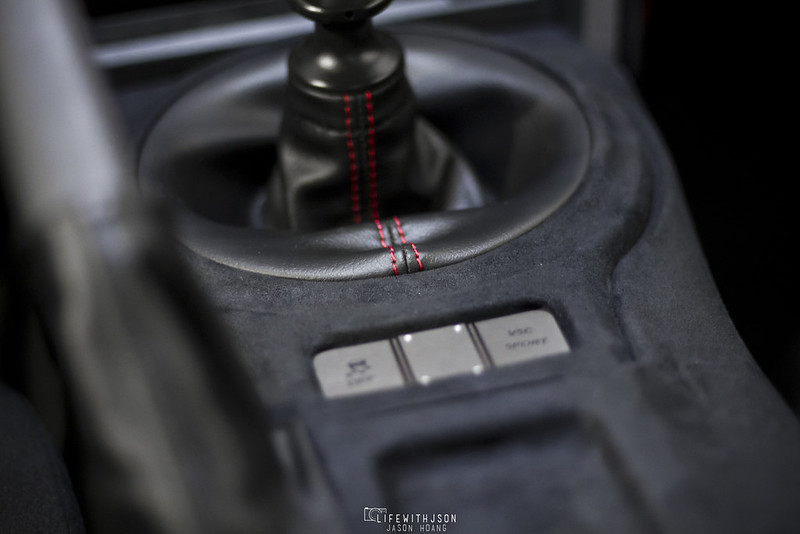
Close up of the center console and the booth surround together.
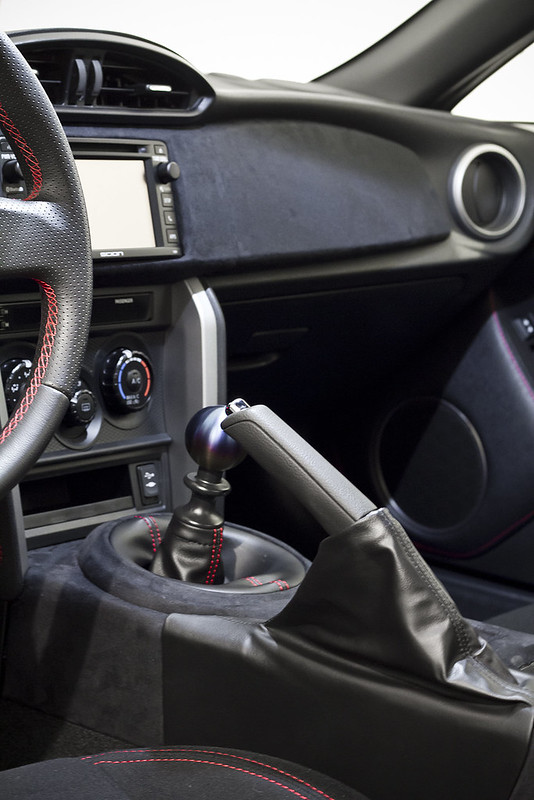
And a better full shot of what it looks like all put together. Definitely a lot nicer than the plastic. Eventually I want to do my whole dash but I’ll save that for another day…
Hope this helps! Enjoy!

Amazing job job man! I can see why most people who wrap their interiors skip the console lol, but it looks so much better this way. Funny how toyota gives the 86 a red stitched shift boot but not for the e brake boot.
Thanks man! Yes, the center console is a pain in the ass but if you just take your time, it’s fairly straight forward.
Maybe they ran out of red stitch 🙂 lol
This is is so badass!! Good job! Way better than all the carbon fiber vinyl that everyone’s obsessing over. How has it held up so far?
I completely agree lol. Didn’t like the tacky look of CF.
It’s holding up good still! One thing I’d do differently next time is use stronger tack glue. The heat tends to make the fabric lift in small places but other than that, it’s a beauty!
Thanks!
Strong work! Thanks a million for thoroughly documenting your project. The finished trim looks much better than OEM.
Question – after upholstering, did you have issues with reassembling everything, especially around the cutouts? The alcantara looks like it would add ‘just enough’ thickness to make the cutouts a tight fit for the pieces that need to go back in the holes. Wondering if you needed to trim the cutouts a mm or two for fitment?
Thanks Scott.
The only real tight area was the front of the center console attaching underneath that tray with the AUX/USB. Otherwise, everything is snug and fits nicely with no issues. I did trim anywhere there were clips so that they were exposed. Of course, they are also areas you never see so it didn’t matter anyway.
Awesome! Inspired to do something similar also. Was wondering what the approximate cost for this DIY was. I’m guessing the Alcantara Leather would be costliest?
Thanks Karston. It all depends on the Alcantara – it can run you between $80-150 per yard. Everything else is cheap.
Great guide man! Is the process reversible though? I’m tempted to do it but I hope it won’t leave marks all over the trim for when I sell the car one day.
It is reversible. I took it all off a few months ago because I was tired of the dirt that clings to it lol. Drives me nuts… A little OCD I guess.
The glue is a bit difficult to take off, but by soaking the pieces in goo-gone for 5-10 minutes, it wipes off easy. Then you just wash them in some Dawn dish soap to remove the grease.
Hi man, I am thinking to wrap the center console of my FRS. Goo job! And thank you for all the advice.
For the seat heater button area (on FRS there is nothing there), I saw that you did not cut a hole, correct?
So is that means the alcantara can be stretched like vinyl wrap? So you can just push that part down to meet the curve?
Thank you.
Hey man – no hole. I just glue the inside down and then wrapped the corners. Yes it can stretch slightly – just takes patience!
Nice work!
The Alcantara I have doesn’t stretch though.
Are you sure that you used ‘real’ alcantara?
This doesn’t stretch. I guess the wording used was not the best – tugging to make it tight I guess? lol but there was no stretch in mine.
Where did you buy your Alcantara? Is it
Stretchy?
Hi, love to do it in my car. Where did you buy the alcantara? How does the work look after time?
Bought it at a local fabric store. It looks fine if you take care and have good adhesive and get the edges down properly.